


I’ll make you a deal.
I’ll teach you to write your own Metal shaders, and utilise them in your own SwiftUI apps. Since many of you won’t have touched C++ or graphics code before, I’m going to try to explain all the basics, while keeping succinct.
Your end of the bargain? You’ve got to code along.
In a matter of hours, you’ll be firing lightning-fast graphical effects out of your fingertips like a pixellated Palpatine.
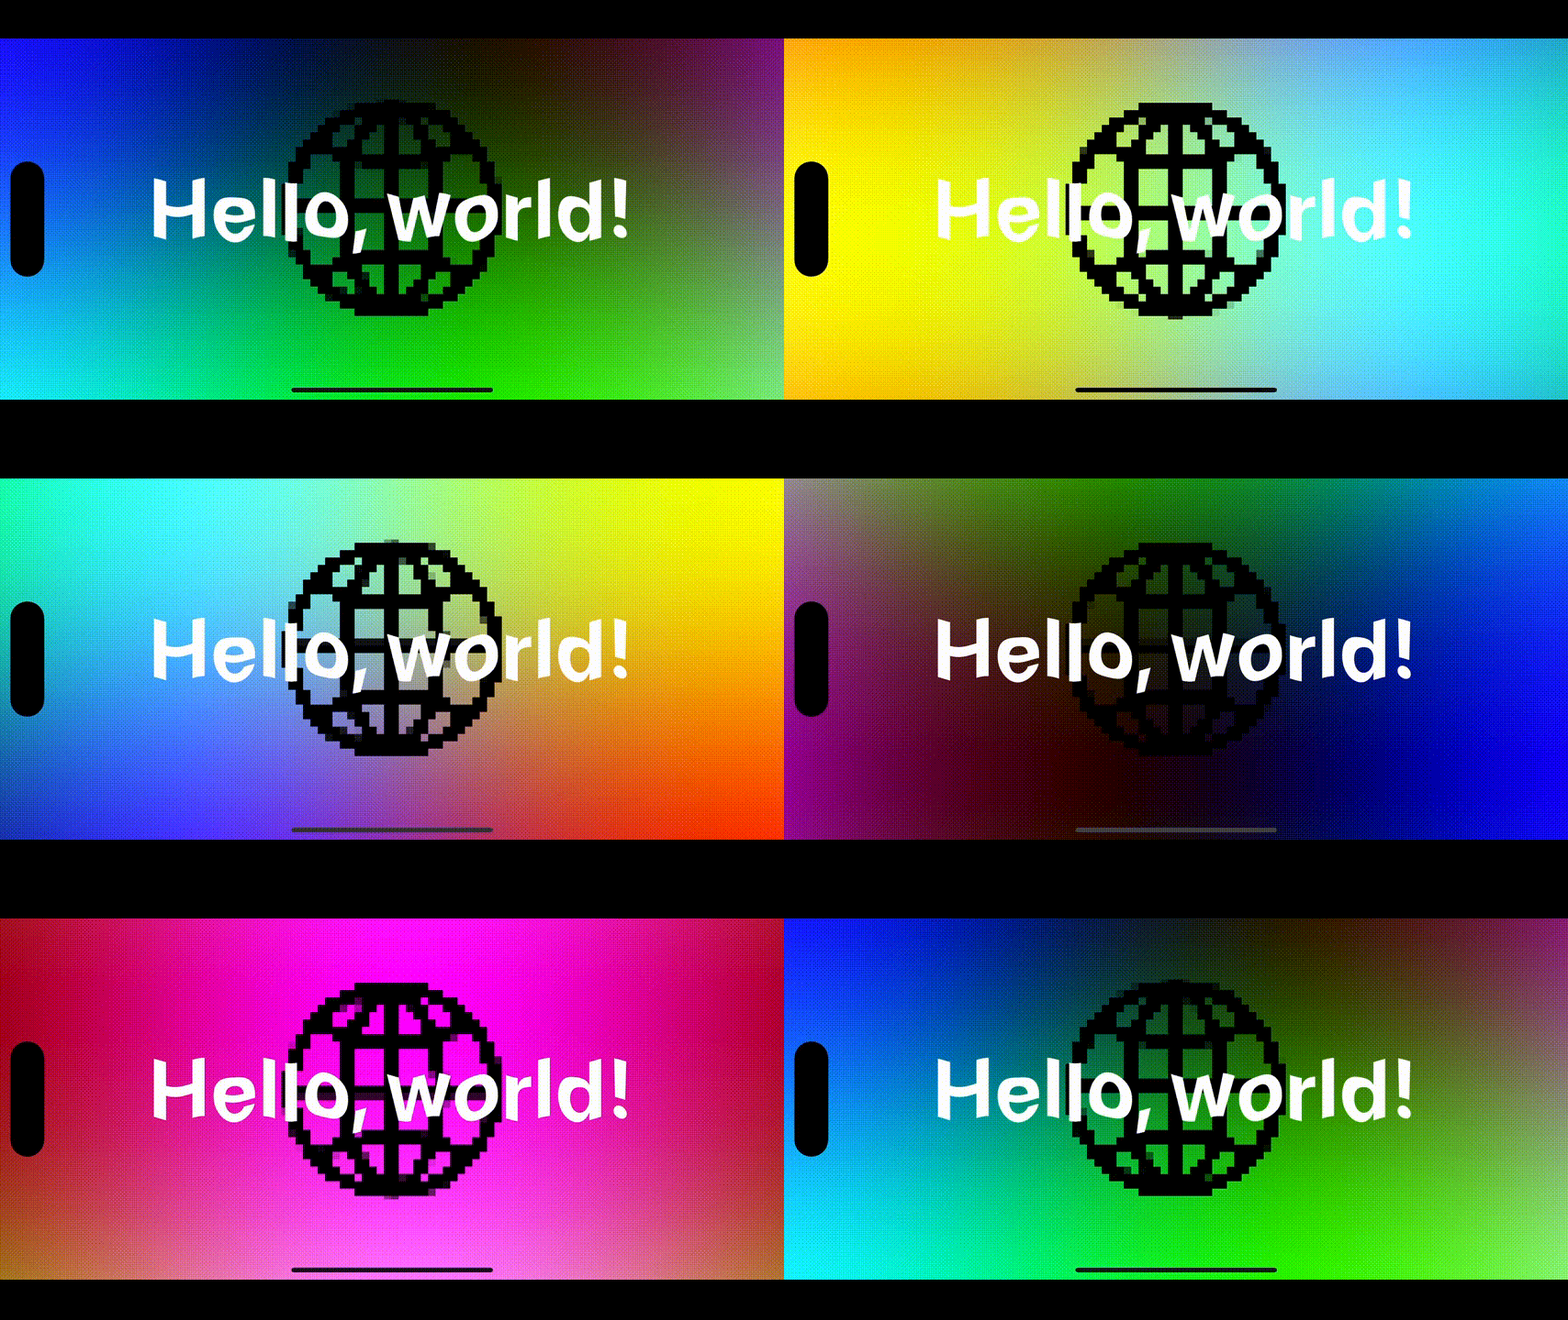
I’ll link to specific commit hashes in my sample project at the start of each section, so you can skip around without getting lost. We’re going to create Metal shaders from scratch, one building block at a time.
Contents
Part I: Introduction
Part II: Color Effect
Part III: Distortion Effect
Part IV: Layer Effect
Part V: Flying Free
I’ve heard of Metal. WTF is Metal?
I’ve written about Metal before when I wrote about Apple’s Animation APIs. I’ll summarise with a brief history lesson:
In the early 2010s, GPUs were improving fast : their performance was pulling way ahead of CPUs. Hardware-accelerated graphics frameworks like OpenGL, which utilised the GPU, were bottlenecked by their driver software which still ran on the CPU.
To remedy this problem, Apple created Metal , a graphics framework which could interface directly with the graphics chip.
Metal is usually used by creators of game engines and machine learning researchers to process ultra-parallelised floating point operations. Most developers, even those making 3D games, aren’t using Metal directly.
There are a few important definitions to learn before we get started:
Shaders are tiny functions that run on the GPU to handle rendering.
Fragment shaders color the individual pixels on a screen (these are what we use in SwiftUI).
Vertex shaders map 3D vector coordinates onto 2D screens (these power 3D games).
Metal Shading Language is the C++-based language we use to write shaders.
Why is Metal so fast?
Shaders are extremely efficient because of one word.
Parallelisation.
Fragment shader functions run individually for each on-screen pixel. The GPU is built specifically to handle massively parallel floating-point operations like these. These work so well because each pixel can be calculated independently of the others.
For the uninitiated , a floating-point operation, or FLOP, is a mathematical function that involves adding, subtracting, multiplying, and dividing floating-point numbers, a.k.a. ‘floats’.
Let’s do some quik mafs to understand how many parallel operations we can run on the GPU.
The iPhone 15 Pro Max, with 3.61 million pixels refreshing at 120Hz, will therefore require 430,000,000x floating-point operations per second, where x is the number of floating-point operations per shader function.
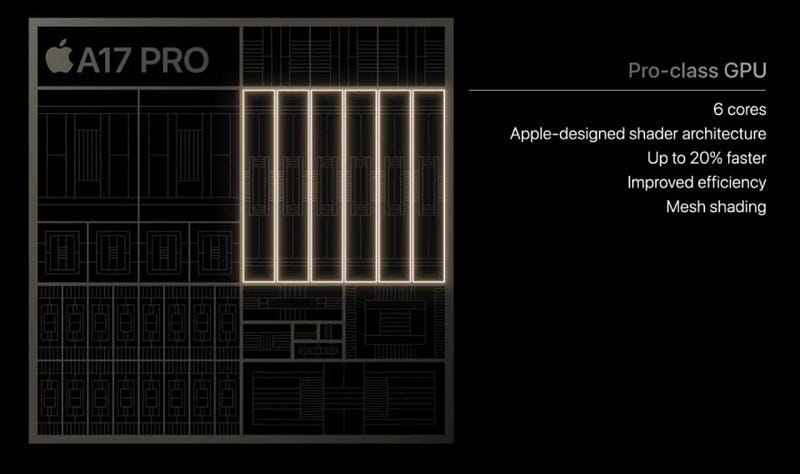
Hot off the press: The GPU in the Apple A17 Pro SoC has 6 cores, each running at 1.4GHz, and each with an insane 128 shading units (each core can utilise these simultaneously . This is known as superscalar architecture). The GPU can run at 2.15 teraflops , that is, 2.15 trillion floating point operations per second.
The maths works out as 2.15 TFLOPS = 1.4GHz * 6 Cores * 128 Shading Units * 2 . I reckon the extra factor of 2 at the end is due to some good pipelining and branch prediction.
This means that the GPU can happily handle 5000 floating point operations on each fragment shader , that is, per pixel, per frame!
Okay, I’ll stop selling you phones. Let’s look at some code.
Setting up the Project
Let’s get on the same page : Here’s the commit hash for our starting point.
Clone the repo from here and code along.
We start with an Xcode project targeting iOS 17+ . The shiny new shader view modifiers are tied to this OS version. To ensure the screenshots look nice in long-form article format, I’ve locked the orientation to Landscape-right. Finally, I’ve set up a few folders to keep our shaders organised:
/ColorEffects/DistortionEffects/LayerEffects/MoreEffects
Each folder contains a View extensions file that defines our view modifiers, and their own .metal shaders file.
Other than that, I’ve left the default App and ContentView files intact.
Here’s the plan: Our workflow will involve creating a simple view, producing a view modifier that uses shaders, and writing the most basic possible shader. We’ll build up increasingly complex shaders as we understand more and more.
Part II: Color Effect
Setting up our View
If you skipped straight here, here’s the commit hash to kick us off with learning colorEffect. Clone it and join in the fun!
Our journey into shaders begins with a basic SwiftUI view, a simple white canvas, with a custom modifier attached:
struct ContentView: View {
    var body: some View {
        Color.white
            .edgesIgnoringSafeArea(.all)
            .colorShader()
    }
}
I used
.edgesIgnoringSafeArea(.all)to make my screenshots look better.
The colorShader() function can be turned into a simple view modifier wrapping the colorEffect modifier and our shader (that we’re about to make). We place it inside View+ColorEffect.
extension View {
    func colorShader() -> some View {
        modifier(ColorShader())
    }
}

struct ColorShader: ViewModifier {
    func body(content: Content) -> some View {
        content
            .colorEffect(ShaderLibrary.color())
    }
}
Creating a ViewModifier accomplishes a few things . First and foremost, it keeps our call site neat by encapsulating all our shader-aware code. It also means we can store state in the modifier struct itself (that becomes important later) and allows SwiftUI to make optimisations under the hood.
The iOS 17 colorEffect modifier takes a Shader as an argument. This is a reference to a function in a shader library, and also accepts any arguments you want to pass along (we’ll see those later on). ShaderLibrary itself is another struct that uses dynamic member lookup to locate a ShaderFunction that you specify in your .metal files.
The Metal Template
Now the real fun begins. We’ll be writing our first shaders to set the color of each pixel. Let’s go to ColorEffects/Color.metal and inspect the template.
#include <metal_stdlib>   // 1
using namespace metal;    // 2
The template contains 2 things:
#include <metal_stdlib>to import the Metal Standard Library, which contains many commonly used mathematical operations for shaders.using namespace metal;which tells the compiler to use themetalnamespace in this file, which cleans up our code, as we can writefloat2instead ofmetal::float2for position andhalf4instead ofmetal::half4for color.
Our First Shader Function
Here’s the function signature for our first shader function.
[[ stitchable ]] half4 color(float2 position, half4 color) { ... }How did I know to write this? Am I a C++ genius? A metal god?
No . Eeven better. I read the docs.
If you option-click on the colorEffect modifier, the documentation appears in all its glory:
Discussion: For a shader function to act as a color filter it must have a function signature matching:
[[ stitchable ]] half4 name(float2 position, half4 color, args...). The function should return the modified color value.
Finally, before we add our own logic, we should get familiar with the types we’re working with:
float2is a vector of 2 floating-point numbers . That is, it stores two separate numbers together in the one type. Here, it’s used to represent thexandycoordinates of on-screen pixels (accessible through dot-syntax).half4is a vector of 4 half-width floating-point numbers. Half-width? This means their bits are stored in half as much memory as afloat(this is the opposite of adouble). This more lightweight type is used used to store ther,g,b, andavalues for a color, which can also be accessed via dot-syntax.
Understanding Color
Metal shaders perform their operations separately on every individual pixel. The GPU is designed to run these massively parallel calculations without breaking a sweat.
Let’s start with the most basic colorEffect shader I could come up with: returning the current color of the pixel, without modification.
[[ stitchable ]]                            // 1
half4 color(                                // 2
    float2 position,                        // 3
    half4 color                             // 4
) {
    return color;                           // 5
}
While this function is basic, there’s a lot to unpack here:
The
[[ stitchable ]]declaration does two things. Firstly, it tells the compiler to make the function visible to the Metal Framework API, allowing us to use it in SwiftUI. Secondly, it allows Metal to stitch shaders together at runtime. This means the shader code, and SwiftUI view modifiers themselves, can be used to compose multiple shader effects together in a performant manner on the same views.half4 coloris the return type and our function name. This is the standard function syntax for C-family languages.float2 positioninputs the coordinates of the pixel this shader function is operating on.The
half4 colorargument is the starting color of the pixel on which this shader is operating.return color;is the return statement , the resulting color of the pixel atposition. Here, we are just returning the original color without changing anything.
Here’s what we see when we run the code:

Let’s actually implement some more logic into our shader.
The next basic step is to actually modify the color we get; hardcoding a return value:
[[ stitchable ]]
half4 color(float2 position, half4 color) {
    return half4(0.0, 0.0, 0.0, 1.0);
}
Take a moment to play with the numbers to return any color you like. I was quite partial to using 128.0/255.0 for each component, giving that sweet, sweet Space Grey hue.
Understanding Position
Now let’s find out how to handle pixel position in our colorEffect shader. If you’re starting here, here’s the commit hash that includes the progress so far on the project.
There’s another piece in the Metal puzzle that presents itself when you look at the shader’s function signature.
float2 position
This, intuitively, is a 2D vector representing the x and y position of the pixel onscreen.
I wonder whether Vision Pro shaders let you use a 3D position... Homework for people in the comments!
Let’s begin experimenting with our position argument. Firstly, let’s try and modulate a single component of the RGBA return color, the red component, by horizontal (x) position.
[[ stitchable ]]
half4 color(float2 position, half4 color) {
    return half4(position.x/255.0, 0.0, 0.0, 1.0);
}
It looks like we get a nice red gradient effect… but it seems to go flat partway across the screen.
That’s because position.x/255.0 begins at zero, then happily increases by the x position of each pixel. Once the shader gets 255 pixels along, position.x/255.0 resolves to 1.0, which is plain red. The max value of the red component is 1.0, so everything past 255 pixels stays red.

Next, let’s try playing with the vertical (y) component, and modify another of the RGB values:
[[ stitchable ]]
half4 color(float2 position, half4 color) {
    return half4(position.x/255.0, position.y/255.0, 0.0, 1.0);
}
Now, we yield a much cooler-looking gradient, which modulates both horizontally and vertically.

This is cool to look at, but quite wonky, and not exactly something we could use in our apps. It’ll also look very different on different screen sizes due to the shader working with discrete numbers of pixels.
We need to evolve our approach to make this gradient more smooth.
Understanding Geometry
Now let’s discover how to pass the geometry of our views into our shader. If you’re a mathematically-oriented Labrador and immediately bounded to this section, you’re in luck . Here’s the commit hash that catches up with everything so far.
To make our colorEffect shader more smooth, and, vitally, to ensure the behaviour of full-screen shaders is similar on all screen sizes, we need to know the geometry of the view which we’re modifying.
To achieve this, we need to an updated view modifier. The new visualEffect modifier is designed to give access to layout information such as size, so we can utilise it here.
extension View {
    func sizeAwareColorShader() -> some View {
        modifier(SizeAwareColor())
    }
}

struct SizeAwareColorShader: ViewModifier {
    func body(content: Content) -> some View {
        content.visualEffect { content, proxy in
            content
                .colorEffect(ShaderLibrary.sizeAwareColor(
                    .float2(proxy.size)
                ))
        }
    }
}
We’re now using size as an argument in our shader. Since it’s two-dimensional information, it’s stored as a float2.
Of course, let’s not forget to adjust the modifier attached to our ContentView:
struct ContentView: View {
    var body: some View {
        Color.white
            .edgesIgnoringSafeArea(.all)
            .sizeAwareColorShader()
    }
}
Our new shader function has the standard colorEffect args, plus the new size argument to play with. Let’s start by upgrading our original red gradient:
[[ stitchable ]]
half4 sizeAwareColor(float2 position, half4 color, float2 size) {
    return half4(position.x/size.x, 0.0, 0.0, 1.0);
}
The position.x/size.x calculation does the heavy lifting here. For the less mathematically-oriented, this means that each pixel’s red color component is calculated by its relative horizontal position on-screen. For example:
For positions where
x=0, the red component is0, giving us a black color along the leading edge.For positions where
x=500, if the full horizontal size of the view is 1000 pixels, thenposition.x/size.xgives us500/1000which equals0.5. This is the dark red in the middle of the screen.For positions where
xis equal to the full horizontal size , that is, the trailing edge, thenposition.x/size.xis just1, giving the full red color.
Things become more complex comes when taking multiple color components across multiple dimensions, like so:
[[ stitchable ]]
half4 sizeAwareColor(float2 position, half4 color, float2 size) {
    return half4(position.x/size.x, position.y/size.y, 0.0, 1.0);
}
Now the red color component varies horizontally, and the green color component varies vertically. As you can see, the key to learning shaders is taking a simple mathematical effect and layering on more complexity, bit by bit.
Now it’s time to have some fun with it. I felt bad we were leaving out the blue color component, so created this pleasing pastel effect:
[[ stitchable ]]
half4 sizeAwareColor(float2 position, half4 color, float2 size) {
    return half4(position.x/size.x, position.y/size.y, position.x/size.y, 1.0);
}
Seriously, please take some time to play with the shader yourself , finding the fun is the best way to learn.
Next, we’re going to ratchet up the complexity . Bear with me though, because this part is really critical to producing great shader effects.
Understanding Time
We’re about to bring some dynamism to our graphics shaders by transforming their outputs over time. If you yourself are a time traveller, and missed the last few sections, you can hit the ground running with this commit hash.
In order to vary our effects with time, we need to pass “time” as an argument into the shader function.
iOS handily introduced the TimelineView in iOS 15 to allow us to schedule view updates . We can initialise it with the .animation schedule to tell the system to re-evaluate the view very frequently.
extension View {
    func timeVaryingShader() -> some View {
        modifier(TimeVaryingShader())
    }
}

struct TimeVaryingShader: ViewModifier {

    private let startDate = Date()

    func body(content: Content) -> some View {
        TimelineView(.animation) { _ in
            content.visualEffect { content, proxy in
                content
                    .colorEffect(
                        ShaderLibrary.timeVaryingColor(
                            .float2(proxy.size),
                            .float(startDate.timeIntervalSinceNow)
                        )
                    )
            }
        }
    }
}
Our view modifier now stores a property, created on initialisation: a Date, which, unless you are a 5-dimensional creature from space, continuously increases at a rate of one second per second. Handy! A time interval of startDate.timeIntervalSinceNow is added as another argument for our new timeVaryingColor shader.
Again, let’s adapt our ContentView to the new temporal reality:
struct ContentView: View {
    var body: some View {
        Color.white
            .edgesIgnoringSafeArea(.all)
            .timeVaryingColorShader()
    }
}
After all this, we can now write our shader function:
[[ stitchable ]]
half4 timeVaryingColor(float2 position, half4 color, float2 size, float time) {
    return ???
}
Now we have time in our shader. But how do we use it?
Understanding Oscillation
With our current setup (here’s the commit hash!), float time will gradually increase with the lifetime of our view. But that isn’t particularly useful on its own. Often, we want to create a cyclic, repeating pattern in our shaders.
This is where sine waves come in.
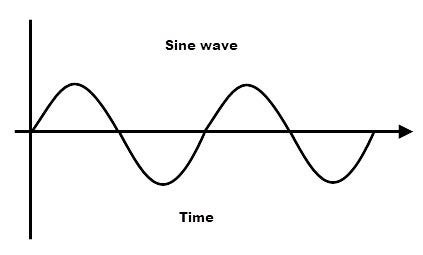
If you’ve blocked the memory of these bad boys out of your brain, that’s fine . While the mathematical underpinnings of trigonometric functions are fascinating; you only need to know that the sine of something creates a repeating pattern. Therefore, the function sin(time) will give you a value that smoothly oscillates between -1 and +1.
Before returning to our shader, let’s write a quick helper function:
float oscillate(float f) {
    return 0.5 * (sin(f) + 1);
}
This shifts the sine function so that instead of giving us -1 to +1, it returns 0 to 1. This is the right fit when we’re working with RGB components in color shaders, as their range of valid values is 0 to 1.
In shader lingo, this process is called normalisation and it makes numbers much easier to combine and transform.
One final thing before we use the time argument: we can actually illustrate this sine function with our gradient:
[[ stitchable ]]
half4 timeVaryingColor(float2 position, half4 color, float2 size, float time) {
    return half4(0.0, oscillate(2 * M_PI_F * position.x/size.x), 0.0, 1.0);
}
Here, we’re applying the sine function via oscillate. As per our original gradient, the position.x/size.x creates a series of values from 0 up to 1 horizontally. We’ve also scaled this by 2 * π (the constant for pi is M_PI_F), since that is the period of a sine function , the distance between each cycle.
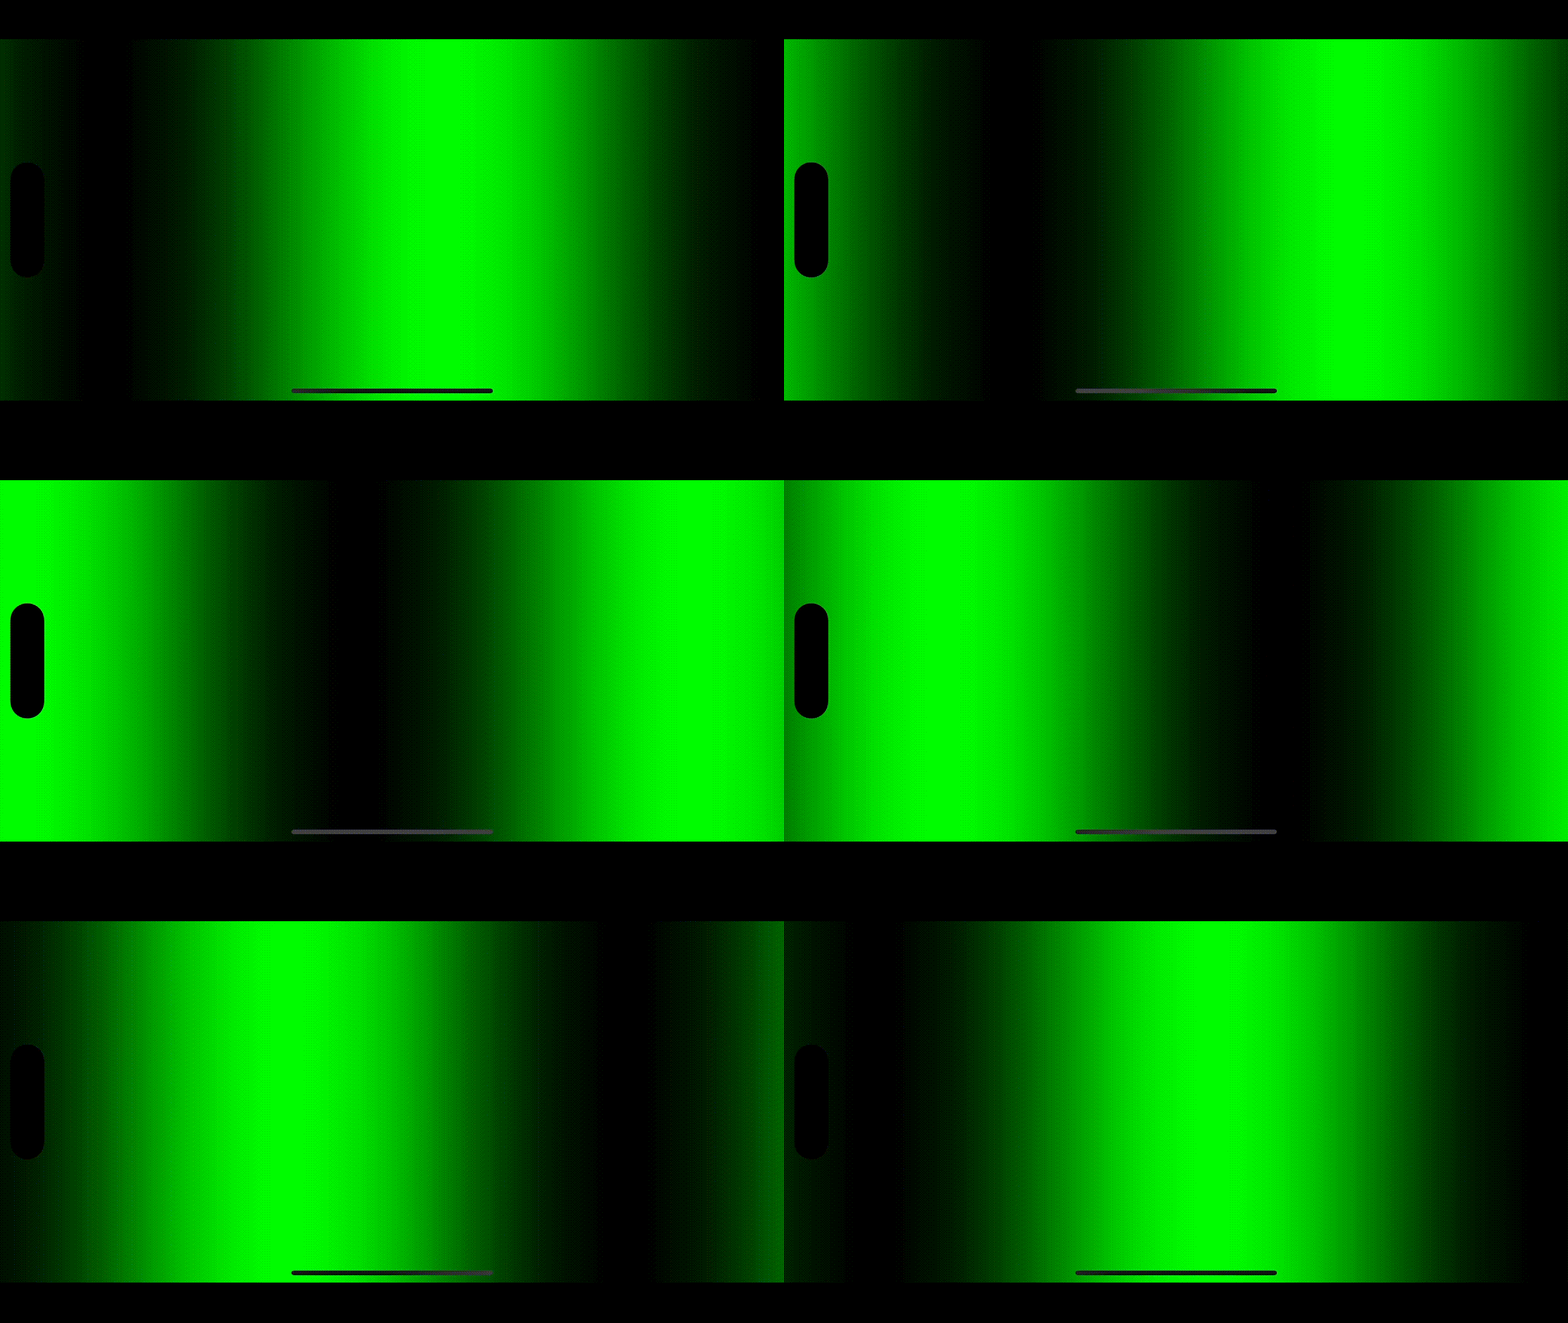
The result is a sine wave, in gradient form!

Project: Creating Disco Lights
We’ve been working through many of the fundamental concepts for using Metal in SwiftUI apps. We’ve learned how to use colorEffect to specify the color we want at each pixel position. We’ve built gradients and used geometry to fit them to our view.
We’ve even utilised the passing of time to transform our shaders, and utilised mathematical functions to display a static oscillation. Let’s merge these concepts at last, and design a shader which oscillates over time. Here’s the initial commit hash you can start from.
Let’s upgrade our timeVaryingColor shader with a time argument. We can use this as a factor in our oscillator function argument which contains our sine wave, to ensure the ever-increasing time number is clamped by the oscillation.
[[ stitchable ]]
half4 timeVaryingColor(float2 position, half4 color, float2 size, float time) {
    return half4(0.0, oscillate(time + (2 * M_PI_F * position.x / size.x)), 0.0, 1.0);
}
Now, we can start having fun with it, playing with the numbers and the speed of oscillation in each RGB value. I won’t go too deep into it, because these gifs are a pain in the arse to generate, but here’s where I ended up:
[[ stitchable ]]
half4 timeVaryingColor(float2 position, half4 color, float2 size, float time) {
    return half4(oscillate(2 * time + position.x/size.x),
                 oscillate(4 * time + position.y/size.y),
                 oscillate(-2 * time + position.x/size.y),
                 1.0);
}
This more complex function produces slightly different oscillations for all 3 RGB values, resulting in this generous hit of acid:
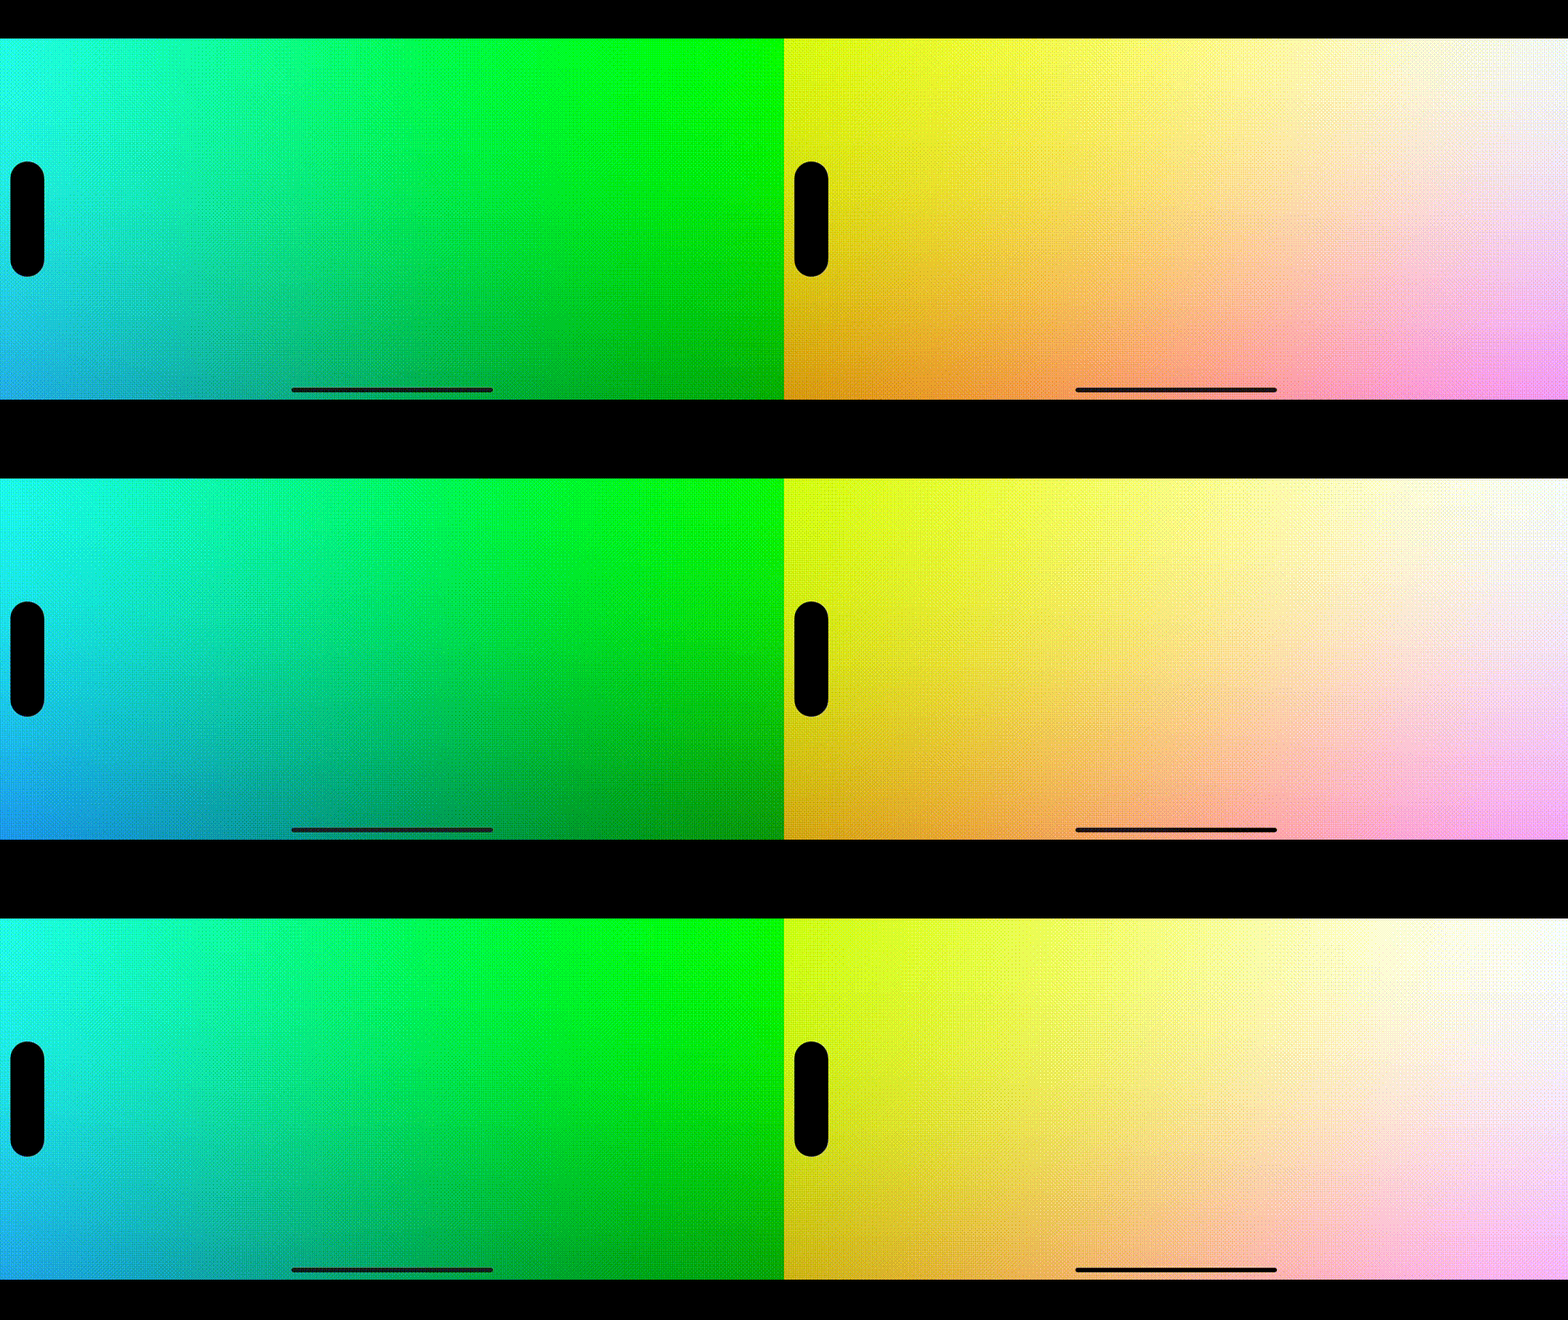
timeVaryingColor shader Morphing rainbows bring us to the logical conclusion of colorEffect for now. Let’s look at the next modifier bestowed upon us by iOS 17: distortionEffect.