
If you’ve worked on any large development projects, you’ll likely have encountered a design system. A design system is a library that encapsulates your branding into reusable components, colors, fonts, icons, and motifs, to help ensure a consistent style across your products.
In short, they allow us to avoid re-inventing the wheel for every screen of UI design.
Personally, I love working on things to make life easier for my team. Implementing design systems in a clean, straightforward way has huge leverage since your team will work with it every day.
In my career, I’ve implemented various design systems, and explored many diverse approaches, such as:
UIKit Storyboards and Nibs
Programatically drawn components for each UIKit subclass
Protocols to allow composable drawing and animation
Enums to declaratively define components
Every approach has its place, but in SwiftUI I’ve found the cleanest, most useable approach by far is defining your components using enums.
As you read through this post, I’ve added many code snippets, but feel free to checkout my code from Github and follow along.
The design system
Let’s say your designer has just sent you a link to their designs - it’s the button component they’ve been working on. It might look something like this:

Generally speaking, any designer worthy of their Figma free tier or Sketch license will have a small set of styles, in a small palette of brand colors, and multiple sizes, icons, and alignments.
You might feel the gears turning in your head as you start to realise why Enums might be a strong approach here.
Define your button
Let’s start by defining our Button. Since we’re in SwiftUI-land, we can start by defining a View struct.

Here, for simplicity’s sake, I’ve called it MyButton, but generally you will usually prefix your company name - in my time I’ve built DeloitteButton, CarbnButton, and Gener8Button. Personal project? Feel free to name it [YourFirstName]Button!
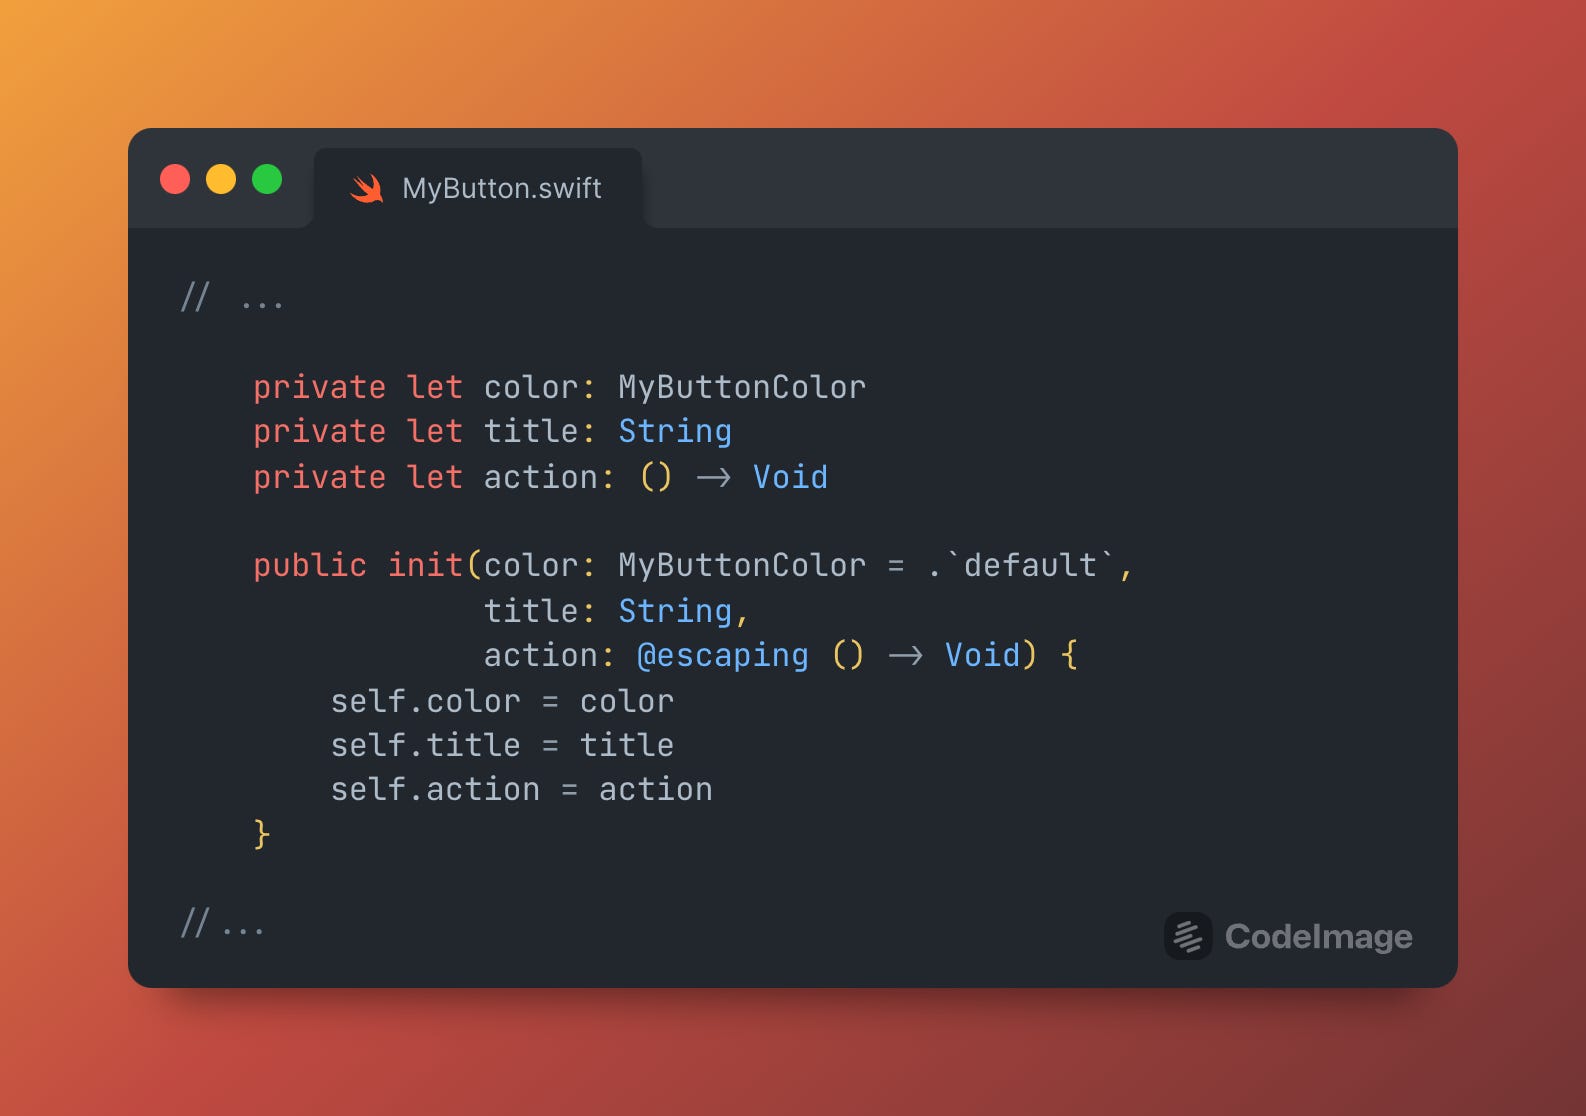
To start with, we simply initialise the button the same way we initialise a default SwiftUI button - with a title and an on-tap action.
Your first enums
Now that we have the basics in place, we can start to make it interesting.
We can start with the most simple features of the buttons in the design system, and work down through the levels of complexity and customisation. So to start, let’s deal with the colors.
In the design system above, we’ve got 3 main colors:
Default buttons - using our main brand color, blue.
Accent buttons, which use our secondary brand color, a pale green.
Error buttons, which are a light red
We can create these options in a MyButtonColor enum to handle this cleanly:

Here, we’re harnessing the astonishing power of Swift’s enumerations - when we add computed properties like mainColor and detailColor to the enum, your case switches over self and finds the value defined for itself!
Quick explainer: Since default is a Swift keyword, we need to ‘escape’ it with back-ticks if we want to call one of our enum cases default, or the compiler will get confused.
Now we can modify our MyButton’s body property to include these color properties when drawing:
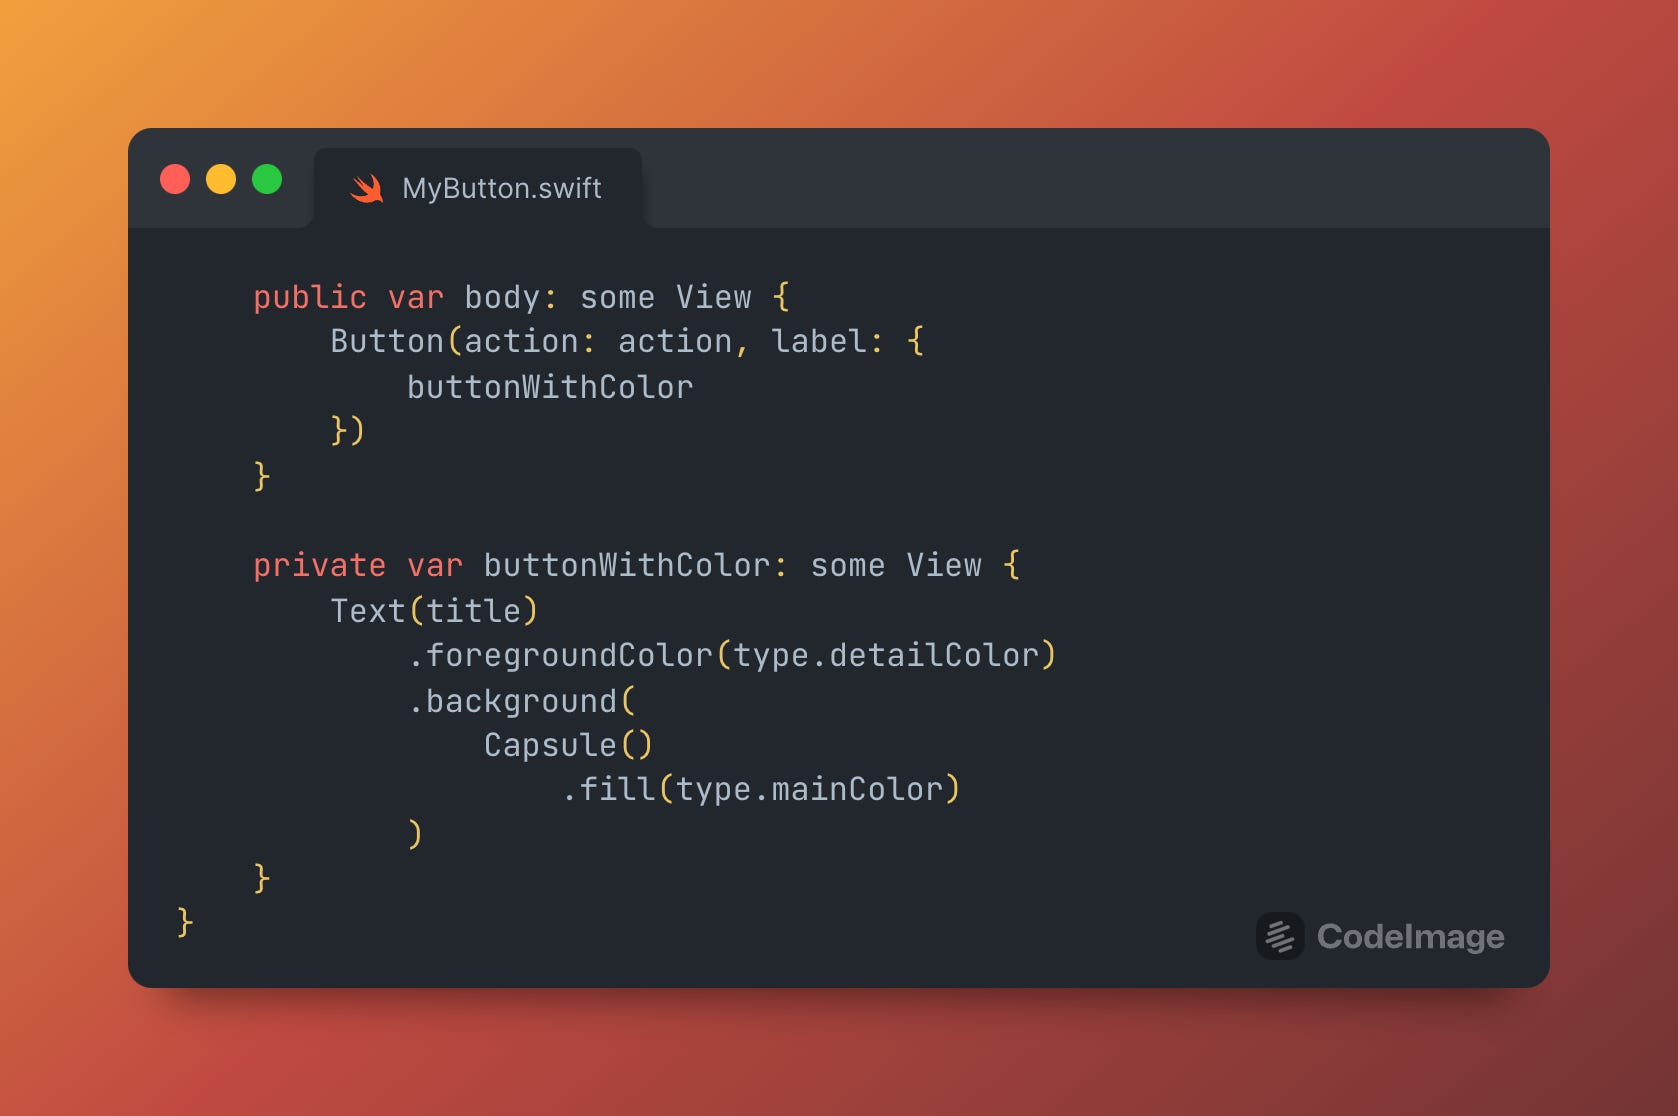
Now, finally, we can modify the initialiser of MyButton to expose this type as an argument. Since our .default button color is the most commonly used, we should use it as the default argument for color in this initialiser: