Apple Animation Through the Ages: 2007
Try out real code from NeXTSTEP to Mac OS X to SwiftUI
Timeline
1989 — NeXTSTEP Generation: Display PostScript
2001 — Apple’s Renaissance: Quartz & OpenGL
2007 — The Modern Era: Core Animation
2014 — The Performance Age: Metal
2019 — The Declarative Revolution: SwiftUI
2007 — The Modern Era: Core Animation
Let’s flash forward to 2007.
There is no App Store for another year.
Apple platform developers can only build for Mac OS X, but they have a problem.
Animation is hard work.
You saw how much ceremony was required to animate basic shapes in Quartz and OpenGL. Consider how tough it’d be for an indie dev to implement animations on the same level as the Dock genie.
In 2007, Mac OS X Leopard included a shiny new framework that changed everything: Core Animation.
Suddenly, Apple platform devs had a declarative framework to describe the end state they wanted, and the system would draw each frame to get to that state.
The framework would optimise the path to that state, utilising the tightly-integrated Mac hardware — including the GPU — to ensure a smooth transition. Core Animation’s sensible built-in defaults, in a single swoop, created a consistency of look-and-feel across all Apple platform apps.
Core Animation, sometimes called QuartzCore, worked using lightweight layers with several properties — including frame, border, filters, shadow, opacity, and mask — which could be animated virtually without effort. Core Animation also allowed video, Quartz, and OpenGL to operate together in a unified manner — everything graphical suddenly “just worked.”
This heralds the beginning of “The Modern Era” because Core Animation underpins much of the UI we write today, including AppKit, UIKit, and SwiftUI.
Developing with Core Animation
Now that we’re working directly with modern Core Animation layers, it’s pretty easy to work with the basic Xcode templates — we can even draw our CALayers in the default NSViewController from our project template. Follow along here, or clone the sample code yourself.
At the top of the ViewController.m, make sure to import Core Animation. On Mac and iOS, Core Animation is bundled with Core Image in a single framework called QuartzCore.
#import <QuartzCore/QuartzCore.h>
Now, everything we’re doing will sit in the viewDidLoad method of our view controller. As I mentioned before, NSView predates Core Animation by a lot. Therefore, we need to opt-in to make an NSView layer-backed by calling:
[self.view setWantsLayer:YES];
You might not recognise this if you’re more familiar with UIViewController, which is CALayer-backed by default.
Let’s go straight into it!
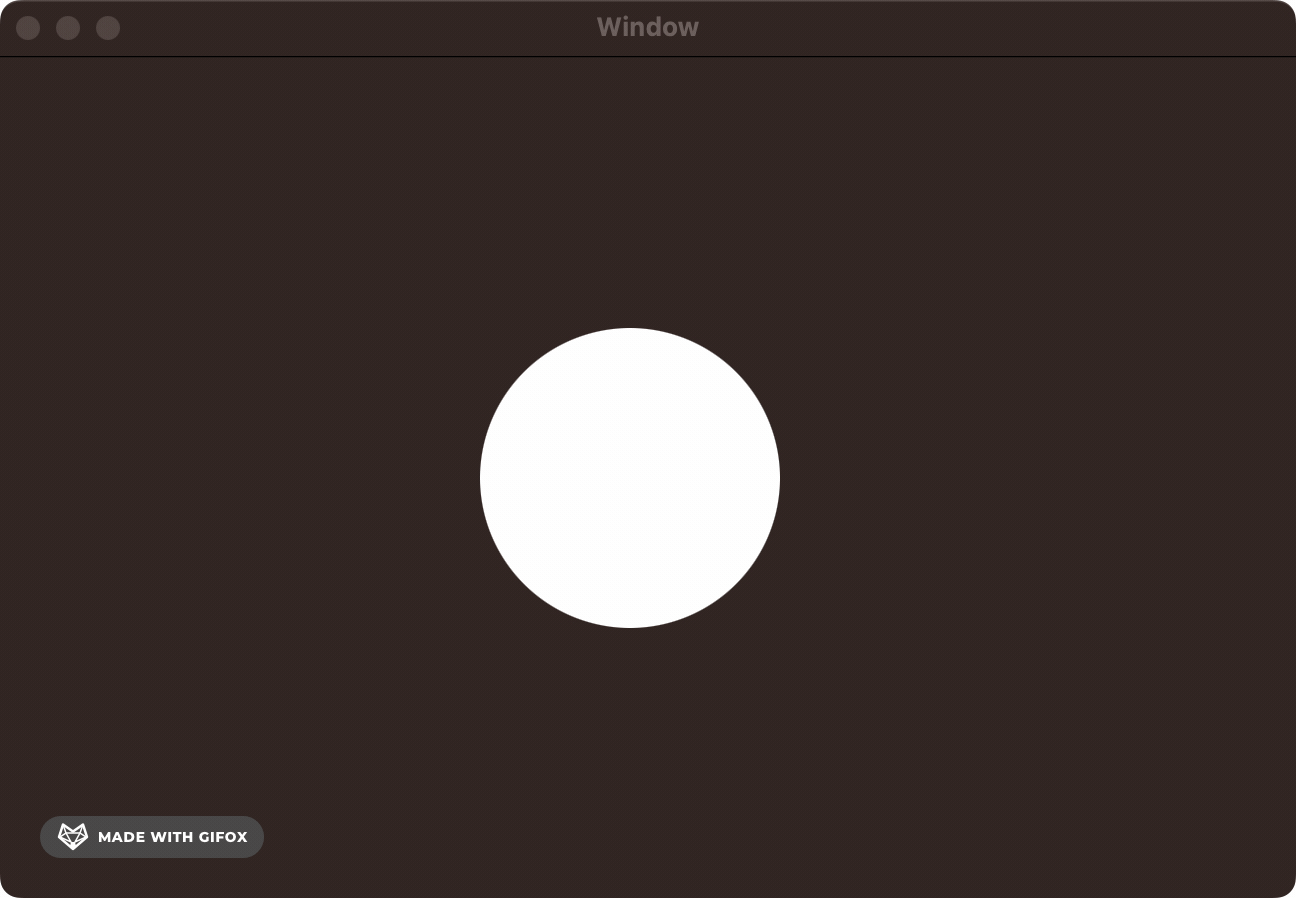
First, let’s draw our original CALayer — a simple circle.
// Circle shape layer
CAShapeLayer *circleLayer = [CAShapeLayer layer];
circleLayer.frame = CGRectMake(self.view.bounds.size.width/2, self.view.bounds.size.height/2, 150, 150);
circleLayer.cornerRadius = 75;
circleLayer.backgroundColor = [NSColor whiteColor].CGColor;
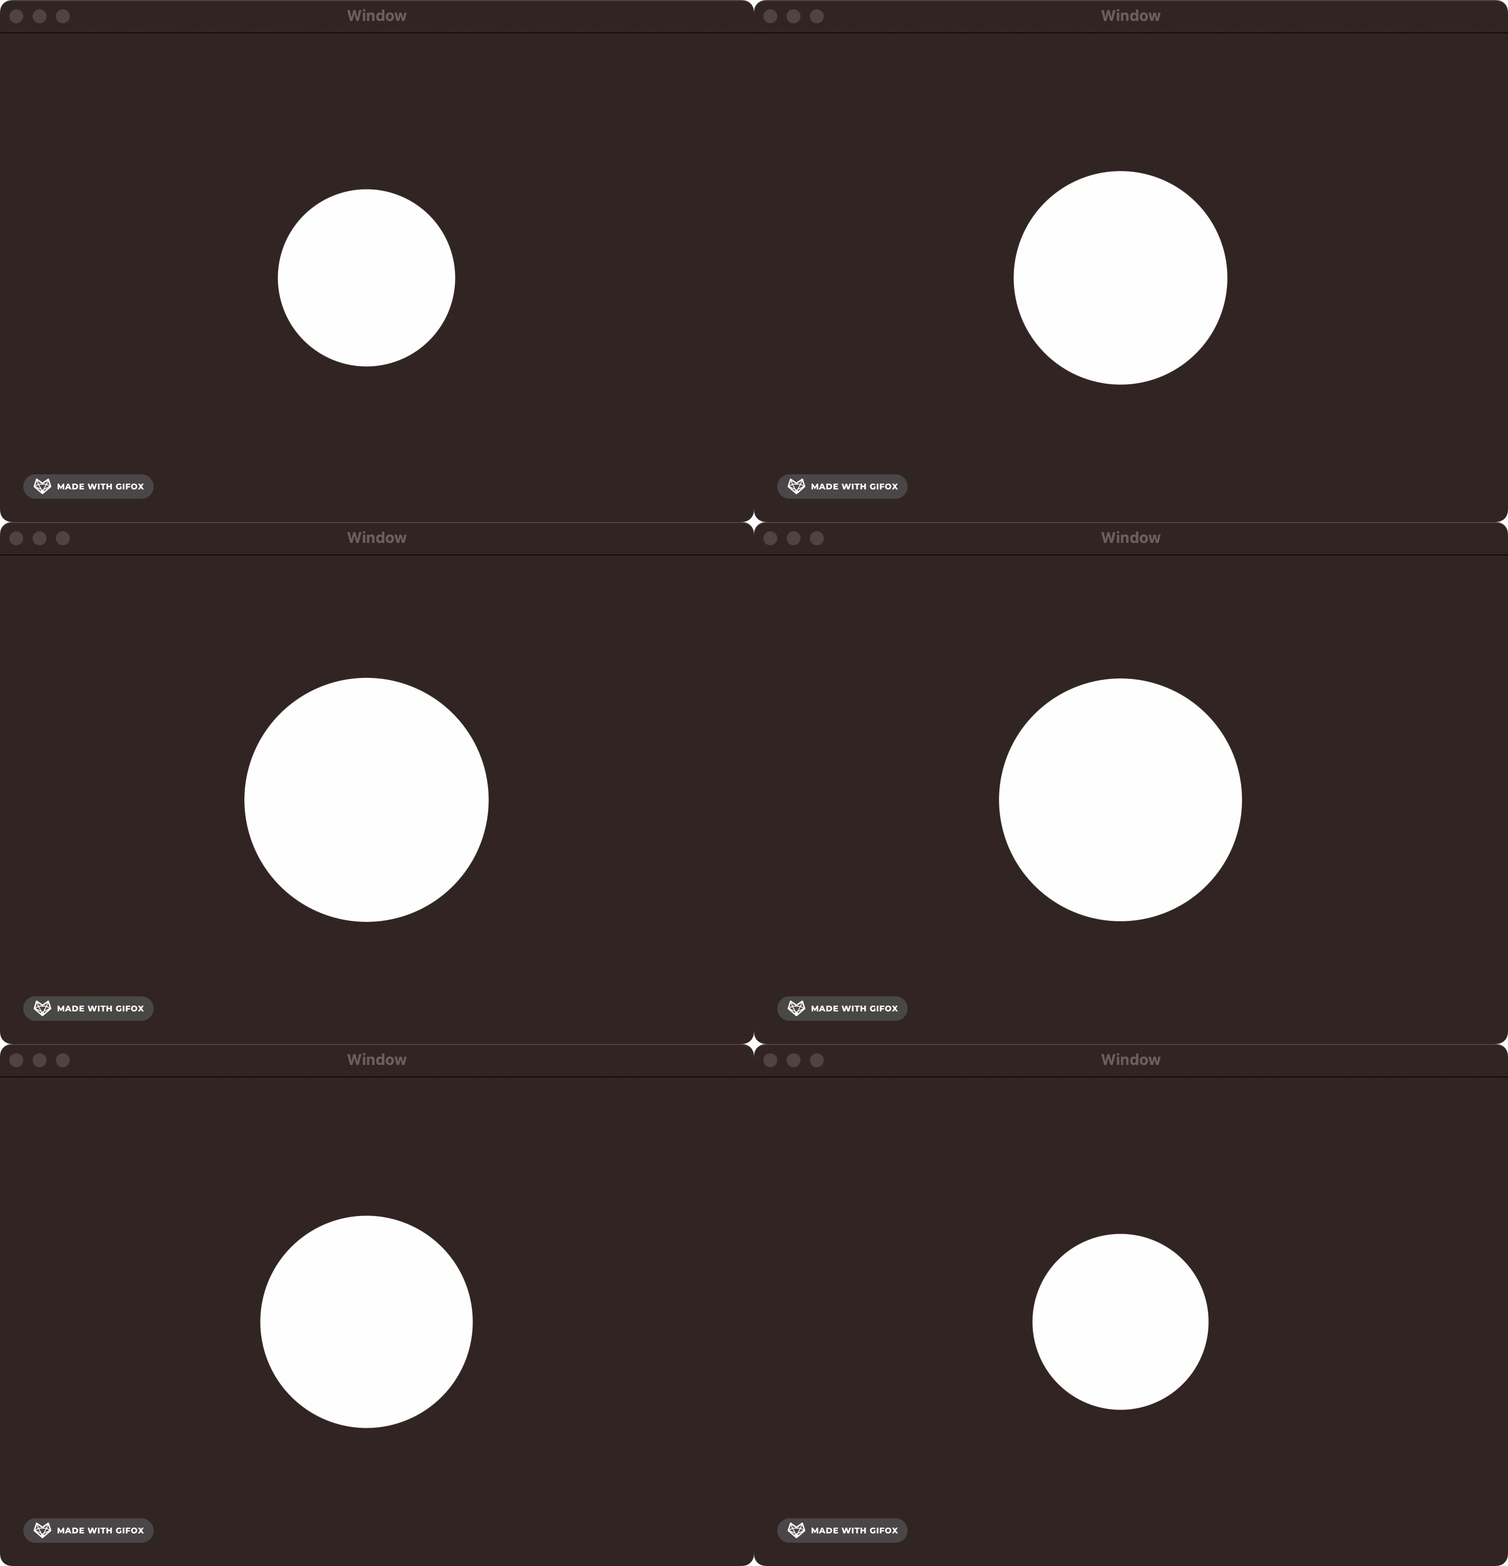
[self.view.layer addSublayer:circleLayer];Let’s add a simple scale animation so the circle grows and shrinks. We aren’t in previous generations of graphics APIs. In The Modern Era, you can specify your layer's start and end states, and Core Animation automatically calculates the frames required!
// Scale animation
CABasicAnimation *scaleAnimation = [CABasicAnimation animationWithKeyPath:@"transform.scale"];
scaleAnimation.fromValue = @1.0;
scaleAnimation.toValue = @1.5;
scaleAnimation.duration = 1.0;
scaleAnimation.autoreverses = YES;
scaleAnimation.repeatCount = HUGE_VALF;
[circleLayer addAnimation:scaleAnimation forKey:@"scaleAnimation"];
Frankly, I don’t think there’s much to explain here. We tell Core Animation what type of animation we want to create using [CABasicAnimation animationWithKeyPath:@”transform.scale”].
We set the initial and end state. We ask Core Animation to auto-reverse the animation — that is, go from start to end and back again. We tell it to repeat HUGE_VALF times.
HUGE_VALFis admittedly a little bit of cruft left over from the the heyday of C-based languages. It literally means “a huge float value.” For all intents and purposes, infinity.
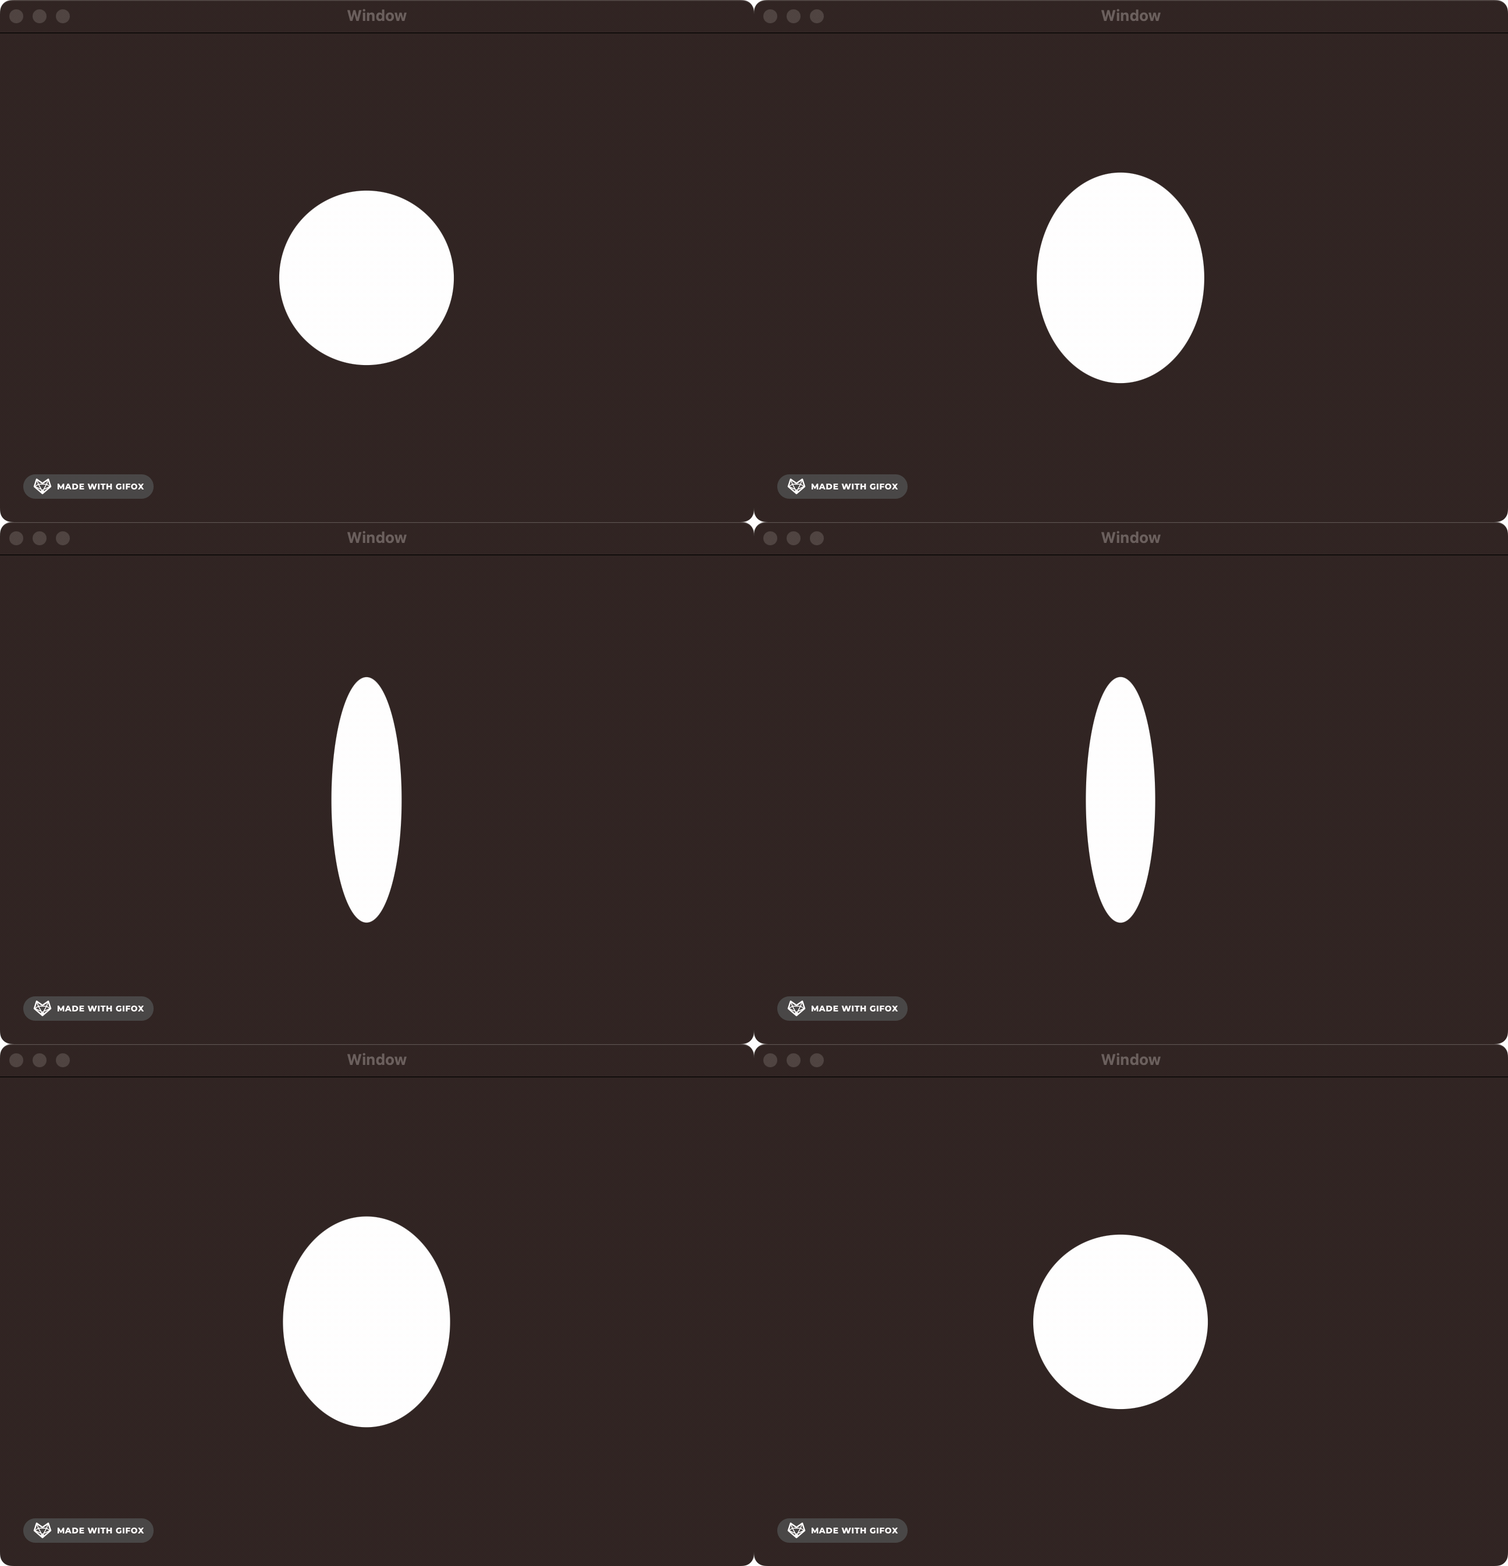
Next, we add a rotation animation along the y-axis. Combined with the previous scale animation, this gives a 3D effect of the circle moving towards you on the screen, a bit like a flipped coin.
// Rotation animation
CABasicAnimation *circleYRotation = [CABasicAnimation animationWithKeyPath:@"transform.rotation.y"];
circleYRotation.toValue = [NSNumber numberWithFloat:M_PI * 2.0];
circleYRotation.duration = 4.0;
circleYRotation.repeatCount = HUGE_VALF;
[circleLayer addAnimation:circleYRotation forKey:@"rotationAnimation"];In Core Animation, you can apply both these animations to the layer, and it composes them together seamlessly.
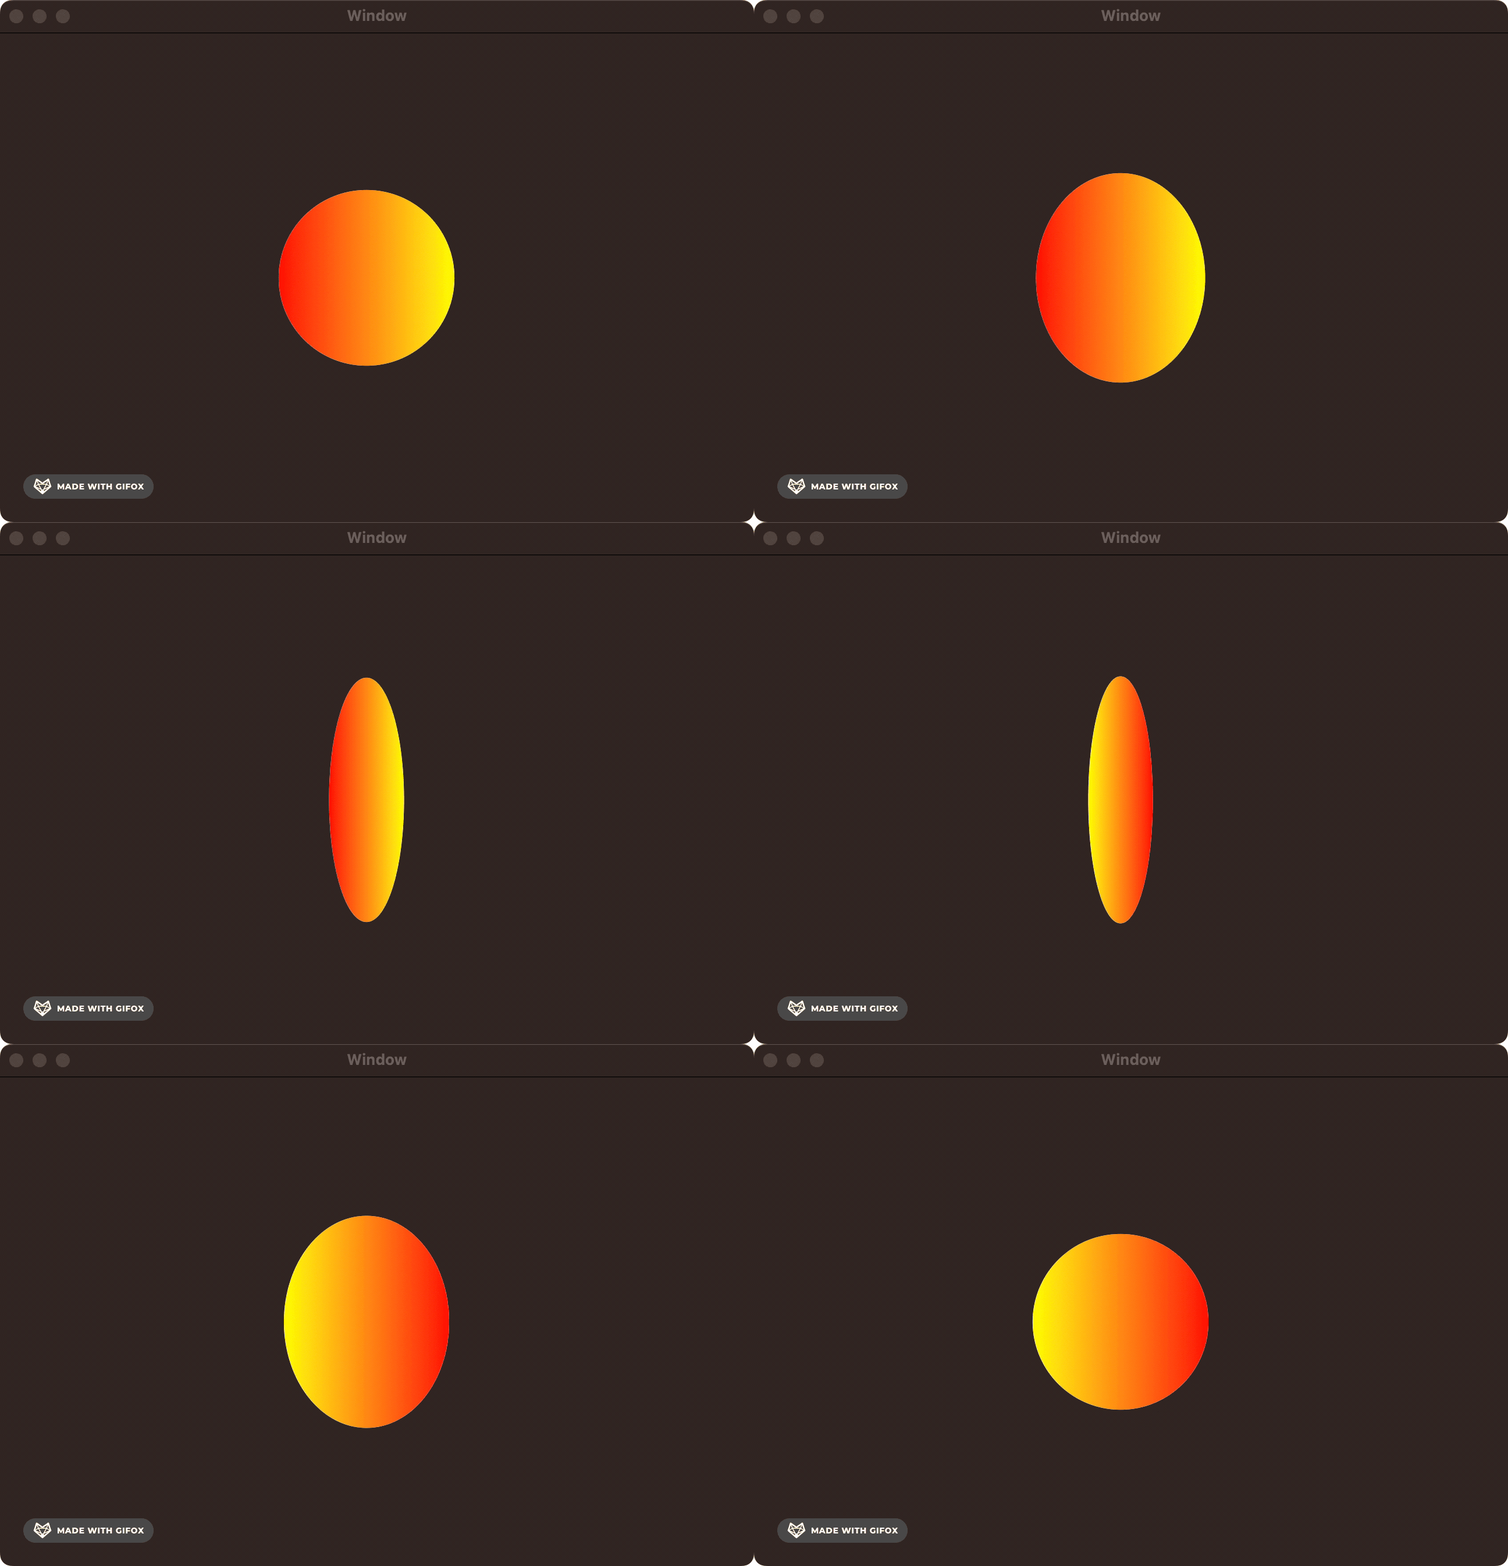
Next, we can add a sublayer to give a nice gradient effect and pin it to the bounds of the shape layer. Since it’s a sublayer, all the animations applied to the parent shape layer will seamlessly apply.
// Gradient sublayer
CAGradientLayer *gradientLayer = [CAGradientLayer layer];
gradientLayer.frame = circleLayer.bounds;
gradientLayer.colors = @[(__bridge id)[NSColor redColor].CGColor, (__bridge id)[NSColor yellowColor].CGColor];
gradientLayer.startPoint = CGPointMake(0, 0.5);
gradientLayer.endPoint = CGPointMake(1, 0.5);
gradientLayer.cornerRadius = circleLayer.cornerRadius;
[circleLayer addSublayer:gradientLayer];Finally, we can add another animation to modulate the gradient's color in the sublayer.
// Color change animation
CABasicAnimation *colorChange = [CABasicAnimation animationWithKeyPath:@"colors"];
colorChange.toValue = @[(__bridge id)[NSColor blueColor].CGColor, (__bridge id)[NSColor greenColor].CGColor];
colorChange.duration = 2.0;
colorChange.autoreverses = YES;
colorChange.repeatCount = HUGE_VALF;
[gradientLayer addAnimation:colorChange forKey:@"colorChangeAnimation"];After spending several days trying to parse out Display PostScript, Quartz and OpenGL, this gives me the same feeling as using SwiftUI for the first time in 2019. You just tell the CALayer what to do… and it just works 🥹.


